You stand near the stove, breathing in the dense, roasted aroma of cocoa as a metal bowl warms gently over simmering water. The chocolate chips are softening, melting into ribbons of glossy velvet that fold back over themselves with satisfying weight. You reach for a spatula to give it one final turn, anticipating the smooth finish required for your ganache.
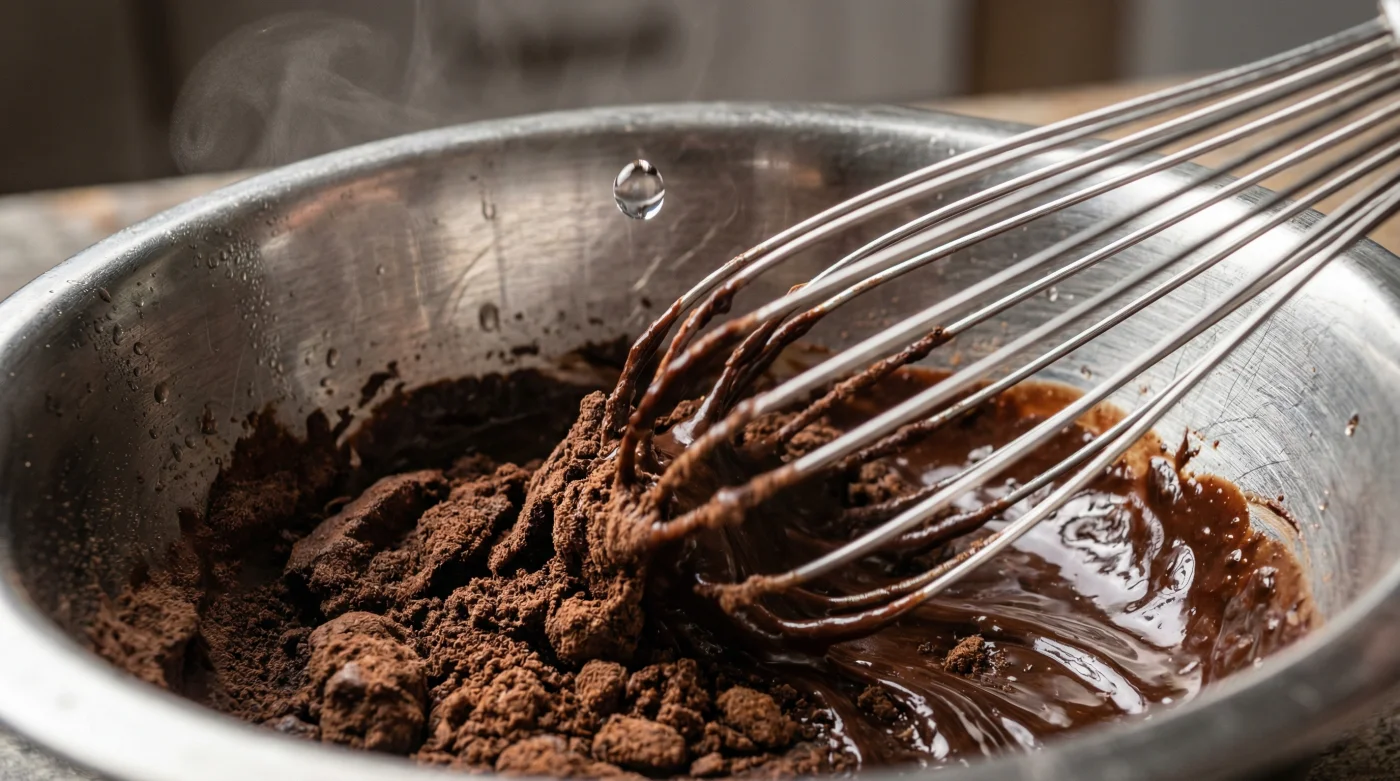
Then, it happens. Perhaps a stray droplet of condensation clings to your whisk, or a whisper of steam escapes the pot below. In a matter of seconds, the glossy pool aggressively tightens, losing its shine and curling into a stiff, grainy mass that looks more like damp potting soil than dessert.
The immediate instinct is to scrape the ruined lump straight into the green bin and start over. We are taught from our earliest baking attempts that water is the absolute enemy of melting chocolate, a fatal error that cannot be reversed. You stare at the dull paste, tallying the wasted ingredients and lost time.
Yet, that gritty clump is entirely salvageable. The professional kitchen understands that seized chocolate is merely confused, not destroyed. By introducing the exact element you were told to avoid—but at a distinctly higher temperature—you force the broken emulsion back into harmony.
The Physics of the Clump
Think of melting chocolate like a perfectly spaced crowd moving through a busy transit station. The cocoa solids and sugar particles glide past one another, generously lubricated by melting cocoa butter. When a single drop of cold water falls into the bowl, the sugar particles react instantly. They act like dry sponges, aggressively absorbing the moisture and sticking together to form massive roadblocks.
This is why a tiny amount of moisture creates disaster. However, vigorously whisking in a steady stream of boiling liquid changes the dynamic completely. Instead of creating isolated clumps, a larger volume of hot water provides enough fluid to dissolve those sugar roadblocks entirely, giving the particles enough space to slide past each other once again.
Elise Viau, a 42-year-old chocolatier running a narrow, bustling confectionary in Old Montreal, calls this the water wedge. During a particularly humid August shift, her massive bowl of dark coating chips tightened up just before dipping. Instead of panicking, she grabbed a kettle of boiling water, drizzled in a tablespoon, and whisked violently. Within ten seconds, the matte clump surrendered, returning to a dark, fluid mirror. You just have to show it who is boss with a little heat, she reminds her apprentices.
Your kitchen environment dictates how your ingredients actually behave, shifting the rules based on what exactly you are melting. The approach to fixing your bowl depends heavily on the makeup of the chips you started with.
Adapting to Your Pantry Profile
Not all chocolate chips react to the boiling water method equally. Commercial chips often contain stabilizers like soy lecithin, designed specifically to help them retain their shape in the oven, which alters their melting point and chemical flexibility.
For the Purist Baker: If you are melting high-percentage dark chocolate chips, the ratio of cocoa butter to sugar is in your favour. These chips will absorb hot water beautifully. You might need slightly less boiling water to achieve a fluid consistency, and the resulting mixture will be intensely dark and entirely perfect for brownies or a rustic drizzle.
For the Busy Parent relying on standard milk or semi-sweet chips from the baking aisle, the sugar and milk powder content is significantly higher. These chips seize violently because the milk proteins tangle with the sugar. You will need to whisk with deliberate force and might require a few extra drops of water to fully dissolve the stubborn sugar bonds.
For the White Chocolate Fan: White chocolate chips contain no cocoa solids at all, relying entirely on cocoa butter, dairy, and sugar. When this seizes, it turns into a bizarre, rubbery putty. The boiling water trick works, but it requires a gentle folding motion rather than aggressive whipping.
The Mindful Emulsion Reset
When the disaster strikes, pull your bowl off the heat immediately. Leaving seized chocolate over a simmering pot will only scorch the sugars, which is the one mistake you genuinely cannot reverse. Take a breath, clear your workspace, and boil the kettle.
- Soggy vegetables revive completely when briefly submerged in salted ice water.
- Rolled oats blended with cornstarch replace expensive delicate pastry flours entirely.
- Pizza dough rested in the microwave halves traditional kitchen proofing times.
- Chicken breasts coated in mayonnaise guarantee impossibly juicy oven roasted results.
- Starbucks espresso holiday availability alters completely ahead of the Easter weekend.
- Heat the Kettle: Bring fresh water to a rolling boil. Do not use warm water from the tap.
- Measure Carefully: Add exactly one teaspoon of boiling water to the seized mass for every 200 grams of chocolate.
- Whisk Vigorously: Use a silicone whisk or sturdy spatula to beat the mixture. It will look worse initially, then smooth out.
- Assess and Repeat: If it remains thick, add one more teaspoon of boiling water and whisk again until the gloss returns.
Your Tactical Toolkit for this rescue operation is incredibly minimal: a kettle, a measuring spoon, and sheer physical momentum.
The salvaged mixture will be fluid, but it is important to note that adding water means this chocolate no longer perfectly hardens for dipping or intricate candy making. It is, however, absolutely perfect for folding into batters, making fudge, or thinning out with warm cream for a spectacular ganache.
The Grace of Kitchen Salvage
There is a quiet confidence that blooms when you fix something you once believed was ruined. Learning to reverse a broken emulsion pulls you out of the rigid, fearful mindset of following a recipe blindly and steps you into the actual rhythm of cooking.
You step back and stop fearing the raw ingredients, realizing that most culinary disasters are just chemistry equations waiting to be balanced. A seized bowl of chocolate is no longer a reason to throw down your apron; it is merely an invitation to apply a little heat, a little friction, and a lot of understanding.
The next time your melting pot turns gritty, you will not feel the familiar sting of frustration. You will simply reach for the kettle, knowing exactly how to bring the velvet back.
A broken sauce or a seized bowl of chocolate isn’t a failure; it is just an emulsion that lost its way and needs a warm hand to guide it back.
| Key Point | Detail | Added Value for the Reader |
|---|---|---|
| The Cause | Trace amounts of water make sugar particles clump together, breaking the fat emulsion. | Removes the mystery of why the chocolate suddenly became grainy and stiff. |
| The Solution | Adding 1-2 teaspoons of boiling water (100°C) per 200g of chocolate while whisking. | Provides a concrete, measurable action to save expensive pantry ingredients. |
| The Limitation | Salvaged chocolate will not set into a firm, snappy hard shell. | Prevents secondary failures by managing expectations for the final application. |
Frequently Asked Questions
Can I use milk or cream instead of boiling water to fix the seized chips?
Yes, you can use boiling milk or cream. The critical factor is the temperature; the liquid must be scalding hot to properly melt the clumped sugars and cocoa butter without dropping the overall temperature of the bowl.
Why did my chocolate seize when I didn’t add any water?
Steam is the usual culprit. If your melting bowl doesn’t snugly fit your saucepan, invisible steam escapes from the simmering water below and condenses directly into your chocolate.
Can I use salvaged chocolate for baking cookies?
It is excellent for mixing into brownie batters, cakes, or making fudge, but because you have introduced water, it won’t hold its shape as a solid chip inside a cookie dough.
What happens if the chocolate smells burnt?
If the mixture smells acrid or looks chalky and crumbly rather than just thick, it has scorched from too much direct heat. Unfortunately, scorched cocoa solids cannot be salvaged and must be discarded.
Does this trick work for compound chocolate or candy melts?
It works, but requires more caution. Because candy melts rely on vegetable oils rather than cocoa butter, you must add the boiling water drop by drop, as they separate much faster than real chocolate.