Picture a cold January morning in your kitchen, the frost thick and intricate on the windowpane. You reach for that beautiful, dark-baked sourdough boule you bought at the local bakery three days ago, only to find it feeling more like a curling stone than the centrepiece of your breakfast. The aroma is faint, trapped beneath a shell that refuses to yield to the pressure of your thumbs.
The immediate instinct is to mourn the loss. You might attempt to aggressively saw through the hardened exterior, scattering dry, pale crumbs across the counter, or resign yourself to an inevitable, somewhat disappointing batch of croutons. We often accept staling as a finality, treating it as a one-way street where a perfectly fermented, hydration-rich loaf slowly surrenders to the dry air of our pantries until it is beyond salvation.
But there is a quiet, highly effective magic hiding right there in your kitchen sink. What looks like a lost cause is merely a loaf caught in a temporary state of suspended animation. The starch molecules haven’t disappeared into the ether; they have simply crystallized and tightly bound together, waiting for the exact environmental trigger to relax back into that pillowy, aromatic crumb you remember from the day you bought it.
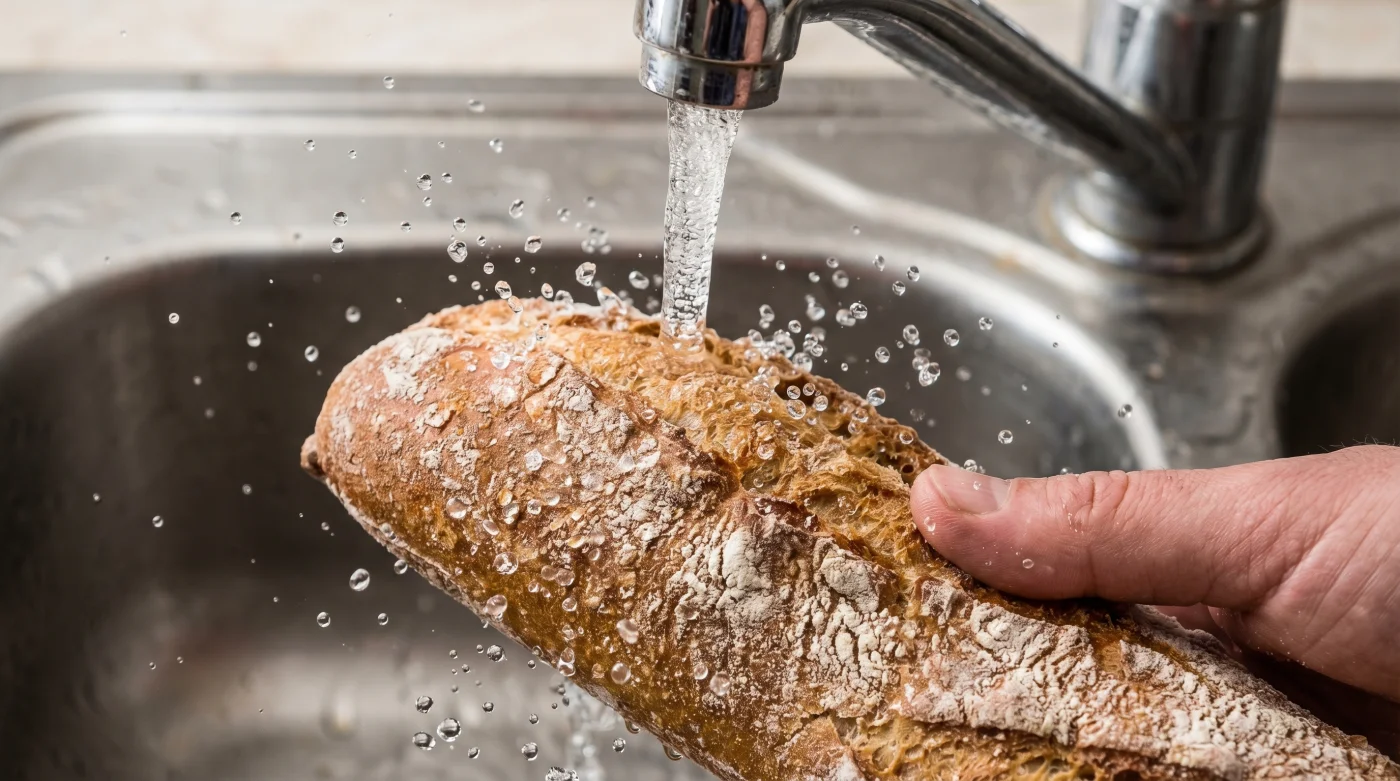
The professional secret used in restaurant kitchens isn’t a complicated steam-injection oven or an expensive bread box. It is the brazen, almost counterintuitive act of taking that rock-hard loaf and turning on the cold tap. Wetting the crust entirely—until the water visibly sheets off the hardened exterior—is the exact shock to the system required to bring dead bread back to life, tricking the starches into releasing their grip.
The Anatomy of a Bread Revival
Think of baked bread like a delicate clay sculpture that has been left out in the hot afternoon sun. When you try to bend completely dry clay, it shatters into pieces. However, when you introduce a fine, even mist of water, the clay slowly regains its former elasticity and suppleness without losing its established shape.
Staling is fundamentally not a loss of moisture, though it feels that way to the touch. It is a structural realignment known as retrogradation. The starches in the flour reorganize themselves into rigid, crystalline formations. Water breaks these rigid bonds acting as a rapid-release solvent when combined with gentle, sustained heat. You are not just reheating a leftover loaf; you are orchestrating a controlled, internal steam-bath perfectly contained inside the crust.
The true perspective shift happens when you stop viewing tap water as a threat to crispiness. Moisture seems like the natural enemy of a crackling, rustic crust. Yet, it is the rapid evaporation of that very water in the oven that tightens the exterior back to a sharp, glass-like shatter, while the interior crumb acts like a sponge, absorbing the resulting steam to soften and swell.
Martin, a 42-year-old artisan baker operating out of a small, flour-dusted storefront in Montreal’s Plateau neighbourhood, built his entire weekend routine around this exact mechanism. Every Sunday morning, he takes the unsold, rock-hard baguettes from Friday, holds them directly under the cold running faucet until they are completely drenched, and throws them into a 160-degree Celsius oven. “People think I bake a fresh, secret batch at noon,” he laughs, tapping the resonant, hollow bottom of a resurrected loaf. “I don’t. I just remind the flour what happened when it first felt like dough.”
Adapting the Flow for Your Loaf
Naturally, not all bread responds to this drastic treatment with the exact same enthusiasm. The approach changes entirely depending on the density, fat content, and crumb structure of what you are trying to rescue from the bin. A heavy, rustic loaf requires a distinctly heavier hand than a delicate, airy grocery store flute.
The Artisan Boule (Sourdough or Country Loaves): These thick-crusted giants are the absolute ideal candidates for the sink method. Because their exterior is robust and naturally charred, you can be aggressive. Hold the entire loaf under the cold water until it feels distinctly heavier in your hands. A heavy sourdough boule requires significant soaking; do not fear the pooling water, as the thick crust acts as a powerful thermal shield.
The Standard Baguette: Baguettes have an incredibly high crust-to-crumb ratio, making them temperamental. A quick, sweeping pass under the tap is entirely sufficient. Just wet the surface quickly, ensuring the bottom gets a momentary splash without letting water pool in the scoring marks. If you soak a baguette for too long, the delicate interior will turn to a gummy pudding before the oven can work its evaporative magic.
The Enriched Loaf (Brioche, Challah): Proceed with extreme caution here. These breads contain milk, butter, and eggs, meaning they burn rapidly and absorb water at a totally different rate than lean doughs. Instead of a running tap, use a spray bottle or a lightly damp hand to gently stroke the exterior. Choose a faint glisten over a downpour, ensuring the sugars in the crust do not melt into a sticky syrup.
The Sink-to-Oven Protocol
Executing this technique requires a slight, momentary suspension of disbelief. You are taking something precious, something you want to eat toasted with butter, and getting it completely, unapologetically wet. The key to success is moving with deliberate intention and trusting the thermal process.
To ensure the water and heat work in perfect, harmonious tandem, follow these precise tactile steps exactly as written:
- Preheat your oven to 150°C (300°F). Avoid higher temperatures; you must steam the interior gently before the exterior has a chance to char or burn.
- Turn on the cold tap to a steady, medium stream. Hot water will initiate a gummy breakdown of the exterior starches far too early in the process.
- Pass the entire loaf under the flowing water. Rotate it slowly so the top, bottom, and sides are thoroughly rinsed. The water should pool briefly and run off the sides.
- Shake off the excess droplets firmly, moving your wrists exactly as if you were drying a freshly washed apple over the sink.
- Place the wet bread directly on the middle oven rack. Using a baking sheet will block the convective heat required to quickly dry the bottom crust, resulting in a soggy base.
- Wait exactly 6 to 12 minutes, depending on the mass and density of the bread. You will hear a faint hissing sound that will eventually stop when the crust is perfectly re-crisped.
The tactical toolkit required here is beautifully minimal. You only need cold municipal tap water, a steady 150-degree Celsius environment, and your bare hands to physically feel the crust shift from a soggy, heavy mass to a singing, crackling shell.
Crucially, once you pull the revived loaf from the heat, you must let the bread rest completely for at least five to ten minutes. Cutting into it immediately releases all the trapped, restorative steam into the air, returning you right back to the dry, crumbly texture you just spent the last ten minutes trying to escape.
The Quiet Satisfaction of Saving
There is a highly specific, deeply grounding kind of domestic triumph in reversing the clock on aging food. We live in a heavily disposable culture, where slightly imperfect things are quickly discarded in favour of the relentlessly fresh and new. Learning to work seamlessly with the natural chemistry of your kitchen creates a sense of profound, quiet resourcefulness.
By mastering this single technique, you are no longer subject to the ticking clock of a paper bakery bag sitting on your counter. When you deeply understand how water and gentle heat negotiate within the complex matrix of flour and yeast, you gain a small but highly meaningful margin of control over the rhythm of your mornings.
The next time you encounter a stubborn, hardened crust on a Tuesday morning, you won’t feel that familiar ping of frustration or guilt. You will simply feel the quiet, confident anticipation of a second chance. The bread isn’t ruined or dead. It is simply waiting patiently for the rain.
The oven doesn’t just dry the wet crust; it forces that moisture inward, coaxing crystallized starches back into a soft, fragrant crumb.
| Key Point | Detail | Added Value for the Reader |
|---|---|---|
| The Water Temperature | Strictly cold tap water. | Prevents the exterior starches from turning into a gummy paste before baking. |
| The Oven Setting | 150°C (300°F) directly on the rack. | Allows gentle internal steaming without scorching the delicate outer shell. |
| The Resting Period | Wait 5-10 minutes before slicing. | Locks the newly formed steam inside the crumb, ensuring lasting softness. |
Frequently Asked Questions
Can I use this trick on pre-sliced sandwich bread?
No. Sliced bread exposes the delicate interior crumb directly to the water. This method only works for unsliced loaves with an intact outer crust acting as a barrier.What if my bread already has mold on it?
Discard it immediately. Water and heat will revive stale starches, but they cannot make spoiled or moldy food safe to eat. Stale and spoiled are two completely different states.How long will the bread stay soft after doing this?
The revival is temporary. You have a window of about two to three hours where the bread will taste freshly baked. After that, it will stale rapidly, so only revive what you plan to eat immediately.Does it matter if my water is hard or soft?
Not for this specific process. The water is acting purely as a mechanical steaming agent; the mineral content will not noticeably affect the taste or texture of the revived crust.Can I use an air fryer instead of an oven?
Yes, but with caution. Air fryers use intense convection. Drop the temperature to 135°C (275°F) and check it after just three minutes to prevent the fan from burning the dampened crust.