The frost is thick on the windows, a quiet morning in the dead of a Canadian winter begging for the warmth of the oven. You have the butter softening on the counter, the flour measured into a worn ceramic bowl, and the scent of vanilla extract already lingering in the air. All that stands between you and a batch of perfect oatmeal cookies is the dark, sticky sweetness of molasses and cane.
But as you reach into the pantry, your fingers meet a solid, unyielding mass. What should be soft, scoopable dark brown sugar has turned into a heavy, fossilized brick. You tap it on the counter, and it sounds like a river stone. The immediate instinct is to grab a butter knife and start chipping away, sending dangerous shards of hardened sweetener flying across the kitchen tiles.
The standard expectation is that you either throw it away in defeat or blast it in the microwave until it melts into a scorching, unusable puddle. But the professional reality requires a step back. You are not dealing with a spoiled ingredient; you are simply witnessing the natural loss of hydration. The sugar yields like damp sand when fresh, and it only needs a gentle coaxing to return to that state.
This is where a single slice of everyday pantry bread changes the dynamic. By introducing a sacrificial moisture donor, you bypass the need for brute force entirely. It is a quiet, nearly invisible restoration that happens on its own time, saving both your baking ingredients and your morning peace of mind.
The Moisture Economy
Think of brown sugar not as a dry good, but as a dense, sugary sponge. Its characteristic chew and deep caramel notes come from the thin, delicate film of molasses coating every individual crystal. When exposed to the dry indoor heating of a long winter—especially when the wind chill outside drops well below freezing—that fragile moisture simply evaporates into the surrounding air.
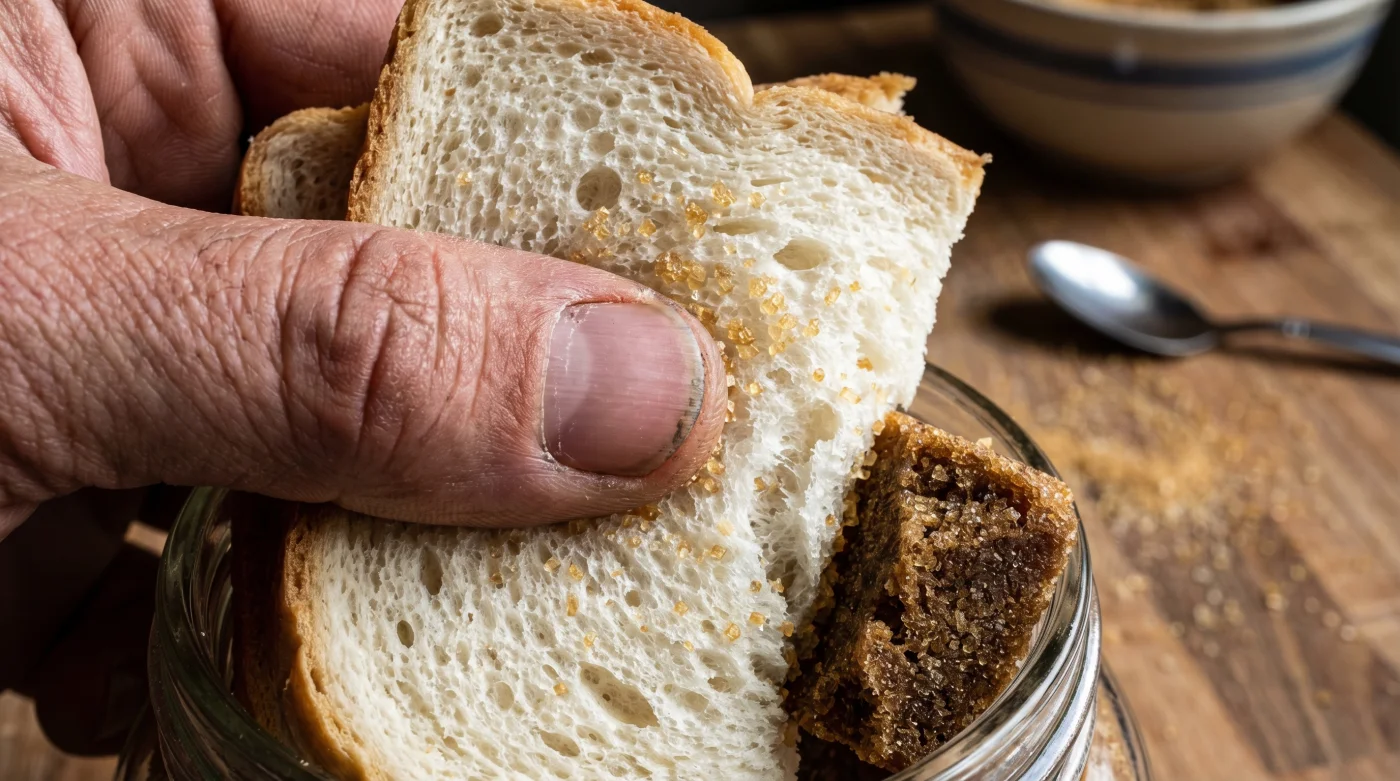
To reverse this, you have to play by the rules of the moisture economy. You cannot force water directly back into the crystals without dissolving them into a syrup. Instead, you create a closed, humid microclimate. By placing a slice of ordinary white bread directly into the storage container, you offer the sugar a readily available source of hydration that it can draw from slowly and evenly.
Clara Davies, a 58-year-old baker running a busy seaside café in Halifax, swears by this exact biological trade. Facing harsh maritime winters that sap the humidity straight out of her commercial pantry, she doesn’t bother fighting the dry air. Clara simply tosses the heel of a plain white sandwich loaf into her massive bulk bins at the end of her shift. Overnight, the bread turns rock-hard as the sugar drinks in the ambient moisture, returning the entire bin to a perfect, scoopable state by morning.
Adjustment Layers for the Pantry Purist
While the classic bread trick is the gold standard for steady restoration, every kitchen operates on a different rhythm. Understanding how to manipulate this delicate osmotic trade-off allows you to tailor the solution to your immediate baking needs, whether you have twenty seconds or twenty hours before the oven preheats.
For the slow planner, the white bread slice is your most reliable and forgiving tool. It is entirely neutral in flavour, meaning it will not impart any strange, lingering tastes into your morning baking. An apple slice works similarly, offering a robust dose of hydration, but you must be mindful that it can leave a faint, fruity scent behind in the sugar.
When the butter is already creamed and you simply cannot wait overnight, you need the damp paper towel method. Place the hardened sugar in a microwave-safe bowl. Cover it completely with a paper towel that has been run under the tap and wrung out until barely damp. Microwave on low power in twenty-second intervals, checking and gently pressing the softening mass with a fork until it crumbles easily.
If a rogue slice of wheat bread poses a cross-contamination risk in your gluten-free household, look to the earth instead. A small, unglazed terracotta disc—soaked in warm water for twenty minutes and patted dry—acts as a permanent, reusable humidifier when sealed tightly inside your canister.
The Simple Swap: Executing the Fix
Applying this technique requires minimal physical effort, but setting up the correct environment is the crucial variable. You want to encourage gentle, passive hydration without introducing mold or excessive wetness into the container.
Approach the restoration mindfully. The goal is a gradual transfer, a quiet balancing act occurring while the kitchen is dark.
Your Tactical Toolkit:
- The Donor: One slice of fresh, plain white bread (the heel works perfectly).
- The Environment: An airtight glass or heavy plastic container with an intact rubber gasket. Flimsy bags will allow the moisture to escape into the room.
- The Placement: Rest the bread directly on top of the hardened block.
- The Timeframe: Seal tightly and leave undisturbed for 12 to 24 hours at room temperature (around 20 Celsius).
When you open the lid the next day, the bread will be surprisingly stale and brittle, drained of its life. The brown sugar beneath it, however, will be fully revived and ready to be measured out with ease. Remove the spent bread immediately to prevent any risk of spoilage, and secure the airtight seal to lock the newly balanced moisture inside.
Reclaiming Your Kitchen Calm
So much of home cooking feels like an ongoing race against expiration dates and fading ingredients. Finding a rock-solid block of sugar hidden in the back of the cupboard is the kind of minor friction that can easily derail an otherwise peaceful afternoon of baking.
Mastering these small, natural corrections brings a sense of quiet culinary victory to your routine. It transforms a perceived disaster into a simple lesson in food science, reminding you that most kitchen mishaps are not permanent failures. They just require a little patience, a slight shift in strategy, and a single, humble slice of bread.
“Baking is just an ongoing negotiation with moisture; learn to barter gently, and you’ll rarely waste an ingredient again.”
| Method | Timeframe | Added Value for the Reader |
|---|---|---|
| White Bread Slice | 12-24 hours | Flawless, scoopable texture with absolutely no risk of melting the sugar. |
| Damp Paper Towel | 20-60 seconds | Instant rescue for immediate baking, saving you a frustrating trip to the grocery store. |
| Terracotta Disc | Preventive | A permanent, gluten-free solution that keeps sugar soft for months without effort. |
FAQ
Can I use whole wheat or seeded bread instead of white bread?
White bread is heavily preferred because its moisture content is high and its flavour is entirely neutral. Seeded or heavily flavoured breads can transfer unwanted savoury aromas to your baking ingredients.How long does the sugar stay soft after the bread is removed?
As long as you keep it in a truly airtight container, it should remain soft for several weeks. If you notice it hardening again, simply repeat the process.Will the bread grow mold in the sugar container?
Not if you monitor it properly. The sugar draws the moisture out of the bread rapidly, drying the bread out before mold can form. Always remove the bread after 24 hours.Does this trick work for coconut or muscovado sugar?
Yes. Both coconut and muscovado sugars rely on residual moisture for their texture, and the white bread method will rehydrate them just as effectively.Why is my microwaved brown sugar hard again ten minutes later?
The microwave method creates steam that temporarily softens the molasses, but as soon as it cools, the sugar recrystallizes—often harder than before. It is strictly a use-it-immediately fix.