It usually starts with the best intentions on a lazy Sunday morning. You pull a package of smoked pork belly from the fridge, envisioning those perfectly straight, brittle strips you get at your favourite diner. You heat the cast iron skillet until it smokes, drop the slices in, and immediately, the kitchen sounds like a battlefield.
The violent popping begins before you can even grab the tongs. You step back, shielding your forearms from the blistering heat and flying grease, watching helplessly as the ends of your breakfast curl into tight, rubbery fists. The edges burn black while the centre remains a chewy, undercooked disappointment.
We have been taught that cooking meat requires an aggressive sear—a sizzling pan to trap flavour and build texture. But bacon is an entirely different biological structure. When you throw frigid animal fat into a screaming hot pan, the moisture trapped inside violently turns to steam, creating those painful micro-explosions that coat your stovetop in an oily film.
The alternative feels completely wrong, yet it yields flawless results. By placing those pale, cold strips into a completely cold oven, you initiate a silent, methodical fat extraction. The meat does not fry; it gently confits in its own rendering juices, lying perfectly flat as the temperature slowly climbs.
The Perspective Shift: From Cooking to Coaxing
Think of rendering fat like melting a heavy Canadian snowfall. If you take a blowtorch to a snowbank, you do not get a clean evaporation; you get a chaotic flood of muddy water. But if you let the early spring sun warm it gradually, the snow disappears cleanly into the earth. Fat cells behave the exact same way when exposed to thermal change.
By starting cold, you are no longer shocking the rigid fat into a defensive contraction. The connective tissues relax rather than seizing up. As the oven warms, the fat slowly liquefies and pools onto the baking sheet. By the time the oven reaches its peak temperature, your breakfast is essentially shallow-frying in a perfectly even, shallow bath of liquid gold.
Elias Vance, a 52-year-old line cook who runs the breakfast shift at a packed diner just outside Saskatoon, understands this patience better than anyone. After thirty years of turning out hundreds of covers every weekend morning, his forearms are surprisingly free of burn scars. Elias doesn’t use a heavy cast-iron press or a splatter guard to keep his strips flat. He relies entirely on a chilled sheet pan loaded with meat, slid into a cold convection oven the moment he clocks in. As he puts it, you cannot bully pork belly into crispness; the fat must be coaxed out softly.
Adapting to Your Bacon Profile
Not all pork is cured and sliced identically. Recognizing what you brought home from the butcher or the grocery store dictates exactly how you manage this cold-start technique to get the specific texture you crave.
For the Thick-Cut Traditionalist, the rendering phase requires significantly more time. These hefty slabs hold onto moisture tenaciously. You will want to leave them in the oven for a full twenty-five to thirty minutes, allowing the thick ribbons of white fat to turn completely translucent before the crisping phase even begins.
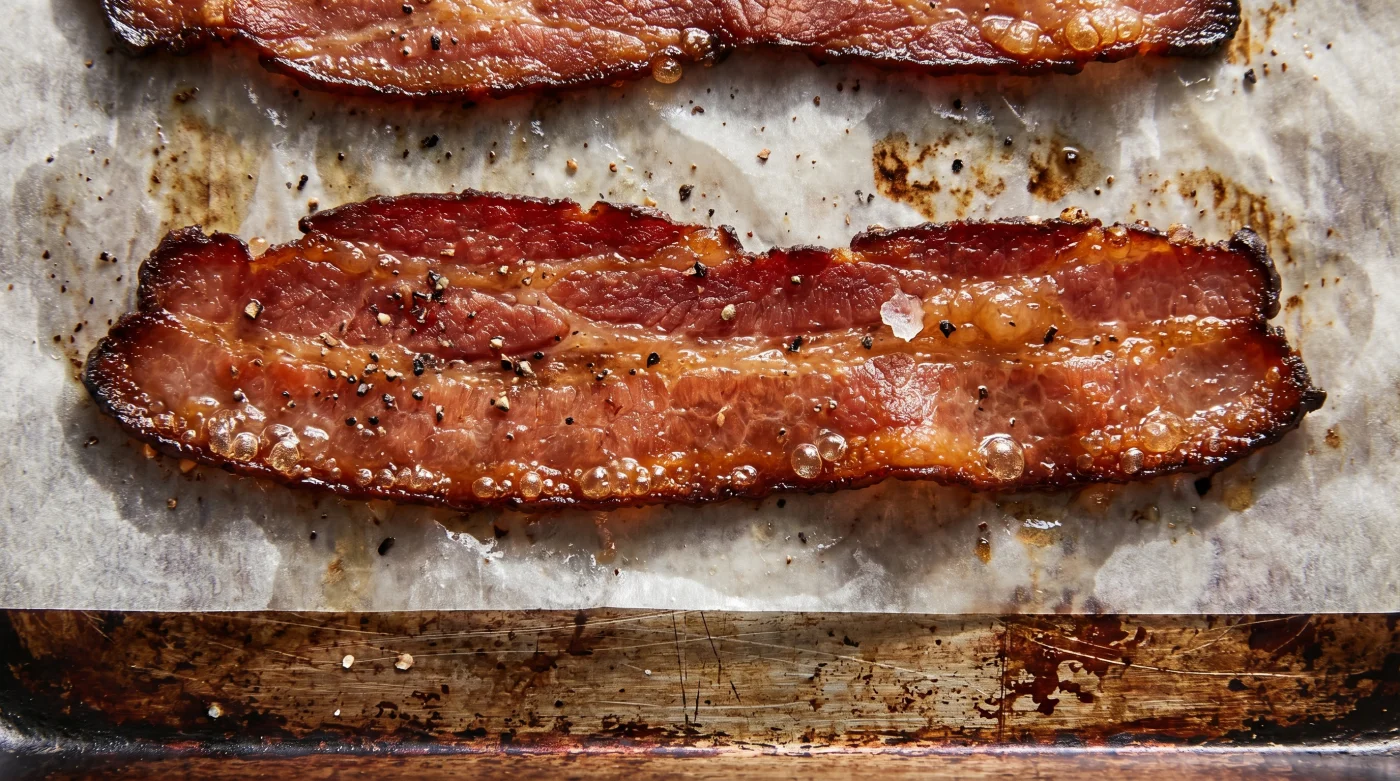
If you prefer the sweet, sticky profile of maple-glazed or applewood-smoked varieties, your enemy is burning sugar. As the fat renders, the sugars pool on the pan and caramelize rapidly. Lining your sheet pan with parchment paper is non-negotiable here, and you must pull the pan slightly earlier to prevent a bitter, scorched aftertaste.
For those buying thin, centre-cut slices, the window between perfectly brittle and turning to ash is incredibly narrow. Because there is less mass to render, these strips will finish much faster once the oven reaches its target heat. Keep your eyes on the pan the moment the timer hits fifteen minutes.
The Silent Rendering Technique
Executing this method requires practically zero effort, but it demands absolute trust in the process. Resist the urge to preheat. The magic happens in the climb from room temperature to a roasting heat, allowing the fat and muscle to cook in tandem.
Gather your tools before you begin. You need a heavy-duty, rimmed aluminum baking sheet. Flimsy pans will warp under the intense heat and cause the grease to pool in one corner, leading to unevenly cooked strips and soggy ends.
- Line your rimmed baking sheet with aluminum foil or parchment paper for effortless cleanup.
- Lay the cold strips side-by-side. They can touch, but they should never overlap.
- Place the pan on the middle rack of your completely cold oven.
- Set the oven temperature to 400°F (about 200°C) and walk away.
- Check the pan at the 18-minute mark. Remove when the strips are deeply browned and bubbling.
The tactical toolkit is minimalist but specific. You will need your oven set to 400°F from a cold start, taking roughly twenty minutes. Use a heavy-gauge rimmed half-sheet pan, parchment paper, heat-resistant tongs, and allow a three-minute resting time on paper towels to drain residual grease.
Reclaiming the Morning Ritual
There is a profound sense of relief when you realize you no longer have to babysit a spitting, angry pan on the stovetop. Your mornings shift from a chaotic juggling act to a peaceful routine. While the oven does the heavy lifting, your hands are completely free.
You can focus on scrambling eggs slowly over low heat, grinding fresh coffee beans, or simply sitting in the quiet of your kitchen. The frustrating chore of scrubbing atomized grease splatter from your backsplash and countertops is completely eliminated. The house simply fills with the rich, comforting aroma of woodsmoke and roasted pork.
This kitchen fix changes the entire dynamic of preparing a weekend breakfast. It takes a messy, painful culinary disaster and turns it into a predictable, hands-off triumph. You get to present perfectly straight, shattering strips of meat without a single drop of sweat or scorched skin.
“The true mark of a seasoned cook isn’t how fast they can sear, but knowing exactly when to let the heat do the work for them.”
| Key Point | Detail | Added Value for the Reader |
|---|---|---|
| The Cold Start | Placing meat in the oven before turning it on. | Eliminates stovetop grease splatter completely. |
| Gradual Rendering | Slow temperature climb to 400°F. | Prevents curling, resulting in flat, perfectly crispy strips. |
| Rimmed Baking Sheet | Using heavy-duty aluminum pans with edges. | Keeps rendered liquid gold safely contained for easy cleanup. |
Frequently Asked Questions
Do I need to flip the bacon halfway through?
There is no need to flip. The hot metal beneath and the ambient heat above cook both sides evenly.Can I save the rendered fat after baking?
Absolutely. Let the pan cool for five minutes, then carefully pour the liquid through a fine-mesh strainer into a glass jar.Will this work in an air fryer?
While an air fryer is excellent for speed, the intense, immediate heat causes curling. The cold-start oven method is the only guaranteed way to achieve perfectly flat results.What if my oven preheats extremely fast?
If your oven reaches 400°F in under five minutes, you may need to add a few extra minutes to your total baking time to achieve the right crispness.Is parchment paper or foil better?
Parchment paper prevents sticking and is ideal for sugary cures. Foil is better if you plan to wrap and discard the grease immediately after it solidifies.