You are standing in your kitchen on a quiet Tuesday afternoon, watching the grey light filter through a frosted window. The oven hums steadily, radiating a dry warmth that battles the winter chill pressing against the glass. On the counter sits a block of white chocolate, an ingredient often dismissed as cloying or overly simple, waiting for a rather unorthodox treatment.
Most pastry manuals warn you to treat this ingredient with absolute paranoia. You are told to melt it over a gently simmering water bath, ensuring not a single drop of moisture or excessive degree of heat touches it, lest it seize into a grainy mess. Defying rigid baking logic is exactly what we are going to do today.
Instead of coddling it, you are going to scatter chopped pieces across a bare metal pan and slide it directly into a dry oven. As the minutes tick by, the pale ivory chunks will not simply melt; they will slump, puddle, and eventually turn a deep, toasted amber.
What emerges is no longer the overly sweet confection you bought from the store. Slow roasting caramelizes milk solids, transforming that basic staple into a deeply complex, nutty paste that tastes faintly of butterscotch and toasted pecans.
The Alchemy of Controlled Neglect
Think of standard white chocolate not as a finished dessert, but as a raw ingredient waiting to be cured. It is composed entirely of cocoa butter, sugar, and milk powder. When you expose it to a low, sustained temperature, you are forcing those dormant milk solids to undergo the Maillard reaction—the very same chemical process that gives a seared steak its crust or a loaf of bread its golden crown.
The real breakthrough happens when you stop following rigid instructions and start understanding the physical system inside your oven. By pushing past the fear of burning the cocoa butter, you coax out entirely new flavour compounds. The cloying sweetness fades, replaced by a sophisticated, savoury depth that bridges the gap between confection and artisanal caramel.
Elise Viau, a 42-year-old independent chocolatier in a small Montreal borough, built her entire winter menu around this exact realization. For years, she avoided white chocolate entirely, finding it too flat for her palate. That changed when a distracted apprentice accidentally left a sheet pan of white pistoles in an oven set to hold at 120 Celsius. Returning an hour later, Elise didn’t find ruined chocolate; she discovered a fragrant, blonde caramel that smelled of toasted shortbread. That “mistake” became her signature ganache, proving that sometimes, technical rules are meant to be broken.
Layering the Flavour Profile
Mastering this traditionally difficult skill opens up a fascinating range of culinary applications. Depending on your personal style, you can push this caramelized paste into several different directions, each requiring only minor adjustments to how you handle the final product.
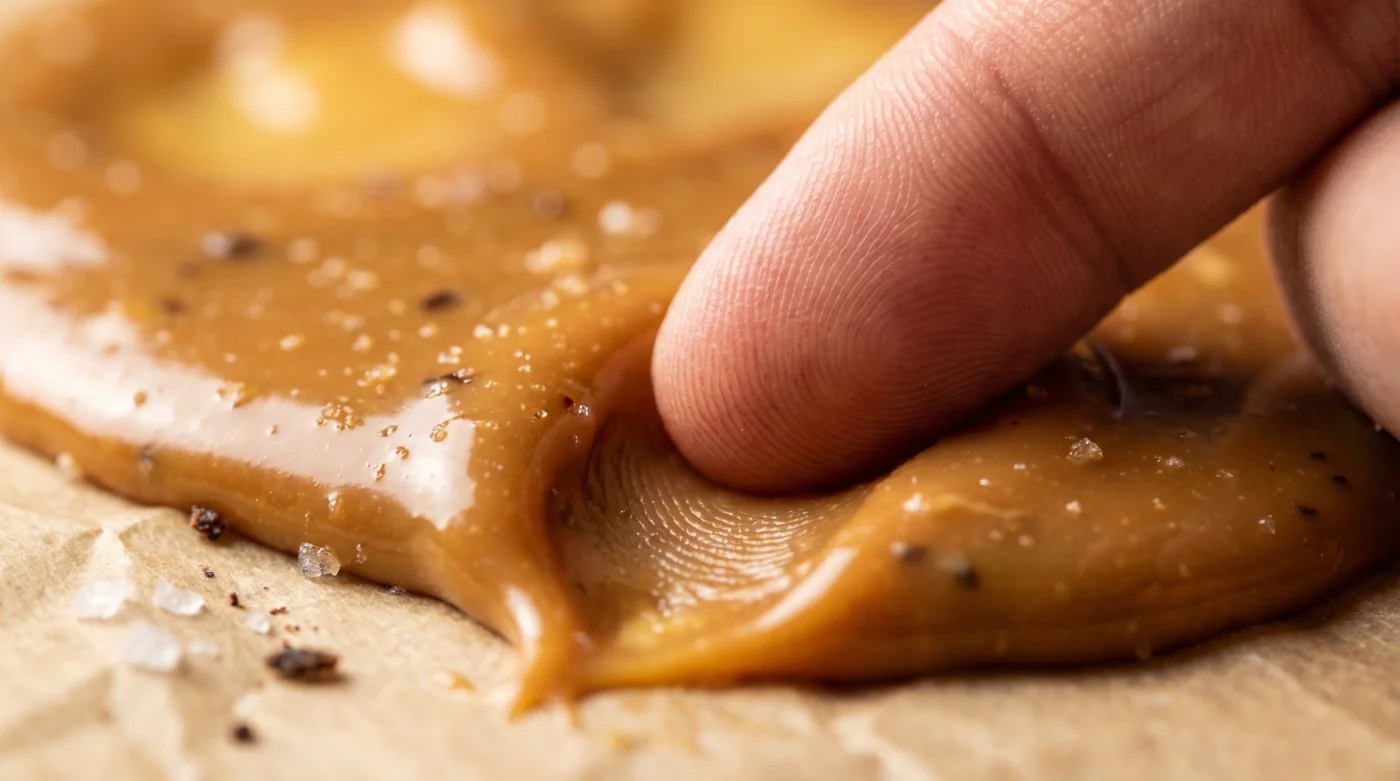
For the Purist: If you prefer unadulterated flavour, simply pour the warm, liquid blonde chocolate onto a parchment-lined tray and sprinkle it with coarse sea salt. Once set in the fridge, it shatters into incredibly complex shards, perfect for eating plain or snapping over a bowl of dark roast coffee.
For the Weekend Baker: Whip it into soft butter and icing sugar to create a buttercream that tastes intensely of dulce de leche. Because the cocoa butter returns to a solid state at room temperature, it provides exceptional stability for frosting cakes, holding sharp edges far better than standard caramel sauces ever could.
For the Savoury Tinkerer: The toasted notes pair beautifully with unexpected, earthy ingredients. Try folding a spoonful of the warm paste into a white miso glaze for roasted root vegetables, or whisking it into a brown butter sauce to pour over pan-seared scallops.
The Methodical Technique
Roasting chocolate requires patience rather than active labour. You are gently applying stress to the ingredients, coaxing them to brown without crossing the line into scorching. Keep your movements deliberate and trust the process, even when the chocolate looks a bit frightening halfway through.
The Tactical Toolkit:
- Temperature: 120 Celsius (250 Fahrenheit). Accuracy is vital; use an oven thermometer to verify.
- Time: 40 to 60 minutes, depending on the sugar content of your specific brand.
- Tools: A rimmed, light-coloured baking sheet (to monitor colour changes easily) and a flexible silicone spatula.
- The Chocolate: You must use high-quality bars or pistoles containing at least 28 percent cocoa butter. Cheap chips containing palm oil will turn to plastic.
Begin by spreading your chopped pieces evenly across the bare baking sheet. Place the tray directly onto the middle rack of your preheated oven. Set a timer for ten minutes.
When the timer sounds, pull the tray out. The chocolate will look melted and possibly a bit lumpy. Drag your spatula through the puddle, folding the edges into the centre to redistribute the heat. It might look seized or grainy—this is a normal stage of the process.
Smooth it back out and return it to the heat. Repeat this folding process every ten minutes. By the thirty-minute mark, the grainy texture will smooth out into a fluid, glossy paste. By forty-five minutes, it will achieve the colour of an old copper penny and smell intensely of toasted butter.
Once it reaches that deep blonde hue, scrape the liquid gold into a heat-proof glass jar. It will thicken as it cools, eventually returning to a solid state. You can re-melt it in the microwave using short, ten-second bursts whenever you need a spoonful.
A Quiet Kitchen Victory
Learning to manipulate ingredients outside of their intended boundaries changes how you interact with your pantry. Mastering this difficult technique is less about producing a fancy dessert and more about trusting your own intuition over the rigid warnings printed on a package.
When you take something mundane and, through sheer patience and dry heat, transform it into something extraordinary, you reclaim a bit of creative control. You realize that a simple block of cocoa butter and milk powder isn’t just a sweet snack. It is a puzzle waiting to be solved, offering a deeply satisfying reward for simply paying attention to the quiet alchemy happening inside your oven.
“The moment you stop fearing the heat is the moment the ingredient finally speaks to you.”
| Key Point | Detail | Added Value for the Reader |
|---|---|---|
| Temperature Control | Maintain exactly 120 Celsius throughout the roast. | Prevents the delicate milk solids from turning bitter, ensuring a sweet, nutty finish. |
| Frequent Agitation | Stir and fold the pooling liquid every ten minutes. | Distributes the heat evenly and breaks up seized clumps for a silky smooth final texture. |
| Ingredient Quality | Use minimum 28% cocoa butter; avoid palm oil additives. | Guarantees a fluid, pourable result rather than a hard, unworkable mess. |
Frequent Concerns Addressed
Why is my chocolate looking dry and crumbly after the first ten minutes?
This is a completely normal physical reaction as the cocoa butter separates slightly from the sugar. Keep stirring every ten minutes, and the fat will eventually re-emulsify into a smooth paste.Can I use standard grocery store white chocolate chips?
Most commercial chips contain stabilizers and vegetable oils designed to hold their shape under heat. You need pure white chocolate bars or high-quality baking pistoles for the caramelization to work.How long will this caramelized paste keep in my pantry?
Stored in an airtight glass jar at room temperature, it will remain fresh and usable for several months, behaving exactly like a standard block of chocolate.What should I do if the mixture accidentally burns?
If it turns dark brown and smells acrid, the milk solids have scorched. Unfortunately, you cannot rescue burnt chocolate, but lowering your oven temperature by a few degrees next time will prevent it.Do I need to temper this if I want to use it for a solid bar again?
Yes, roasting breaks the crystalline structure of the cocoa butter. If you want a shiny finish and a clean snap, you will need to re-temper the blonde chocolate using standard seeding methods.